Erste Schritte mit
Zoom (Basic)
Warum Zoom (Basic)?
Vorteile:
- stabile Verbindung
- gute Tonqualität
- Teilnehmer brauchen keinen eignen Account
- Unterstützt alle gängigen Geräte und Betriebssysteme
- Teilnahme auch per Telefonnummer möglich
- Funktionen zur Zusammenarbeit (Whiteboard, Bildschirmteilen, Fernzugang)
- Gruppenräume
- Meetings per Kalender planen
Nachteile:
- Anrufe über 40 Minuten sind mit mehr als einem anderen Teilnehmer nicht möglich
- In der Vergagenheit mehrfach Sicherheitsprobleme
Am besten geeignet für:
- kurze Meetings mit 2 – 100 Teilnehmern
- Meetings mit Personen ohne Internetanschluss oder Smartdevice
- Einzelgespräche mit guter Tonqualität (z.B. Musikunterricht)
Registrierung und Installation
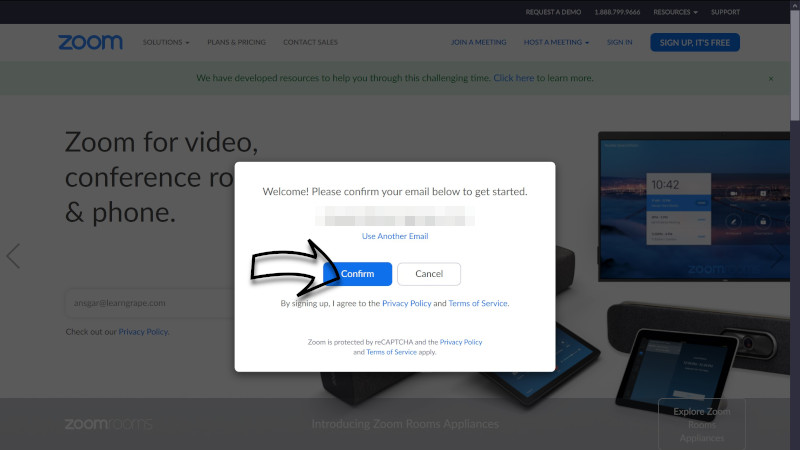
Step 2
You will be asked to confirm that your email is correct.
If your address appears to be right, click the „Confirm“ button.
If you see a typing error in your address or want to change it, click „Cancel“ and start again from Step 1.
Step 3
If you wish, you can receive additional emails and information from Zoom to your email. This includes practical tips but also advertisement.
If you don’t mind emails from Zoom, then you can click on „Confirm“.
Otherwise, click „Set Preferences“ to decide if and how often you want to receive mail from Zoom.

Step 4
Now head to your email inbox (the one you used to register). You will have an email from Zoom waiting for you.
Note: If you do not see it, check all your folders (it might be in Spam, Notifications, Important, Newsletters or one of your other sub-folders).
When you find the email, click the „Activate Account“ button. A new browser window will open now.
Alternatively, and if the button does not work, you can copy the URL under the button and copy it to your browser navigation bar.

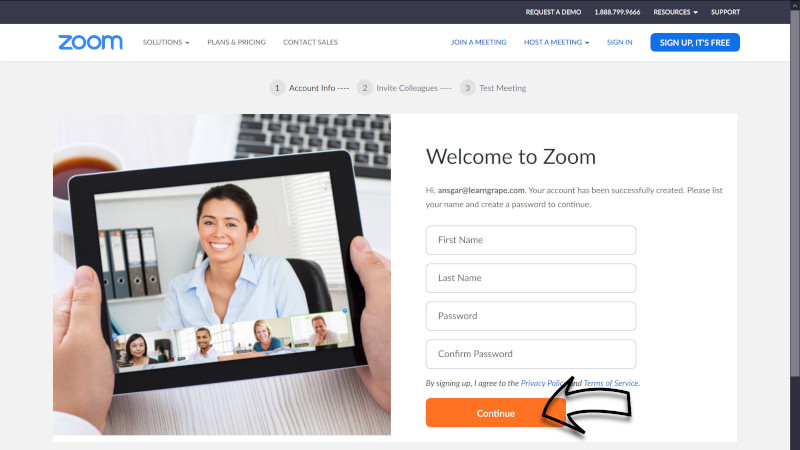
Step 5
Once the new browser window opens, type in your first name, last name, choose a password and type it in again.
There are certain requirements for the password. The website will show you if your password fulfills those requirements.
When you are done, click „Confirm“.
Step 6
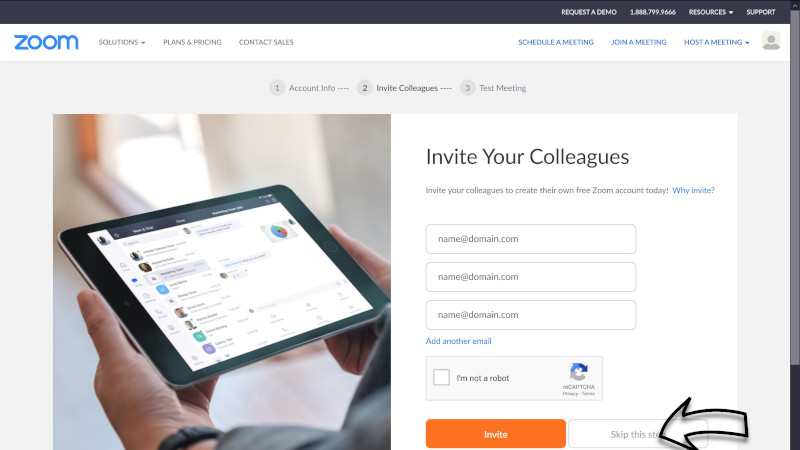
Zoom now asks you to invite your colleagues. That is mainly self-promotion.
If you want your colleagues, clients or friends to also set up a Zoom account, type in their email addresses here and click „Invite“. However, keep in mind that people can also join your meetings without having to have their own account.
If you don’t want to invite anyone, click „Skip this step“.
Step 7
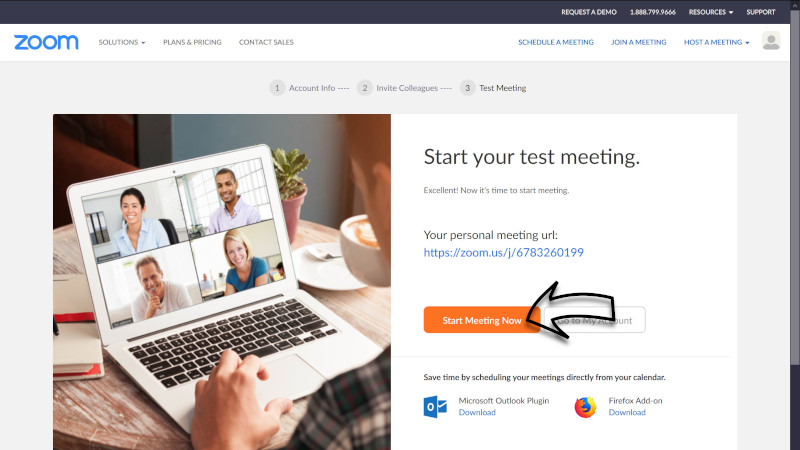
Your account is now set up. You also have your personal meeting URL. It is a virtual room that is always reserved for you and that you and your colleagues can enter at any time.
Try it out and click „Start Meeting Now“.
Step 8
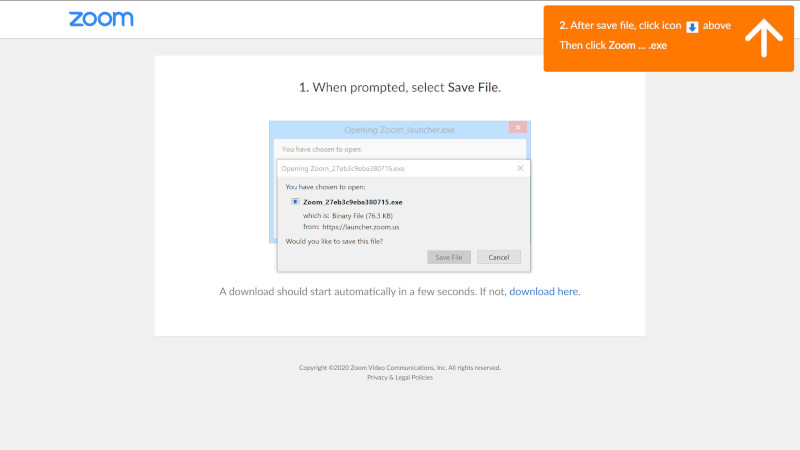
Therefore you will now be asked to download the Zoom software to your computer.
Click „Save Now“ and then open the downloaded file and follow the installation guide.
Step 9
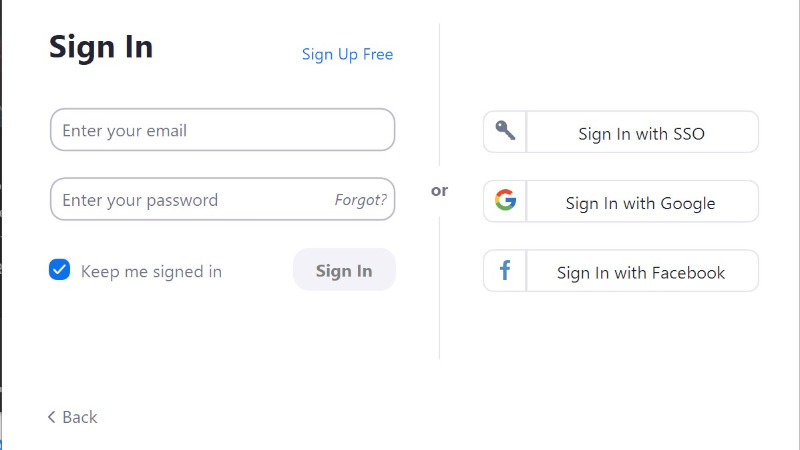
Once the software is installed, it will open and ask you to log in. Use your email address and the password you created during the registration process.
You can keep the tick box „Keep me signed in“ ticked. That way you don’t have to log in every time you want to use Zoom to host a meeting.
Click „Sign In“ and you will enter Zoom and your meeting.
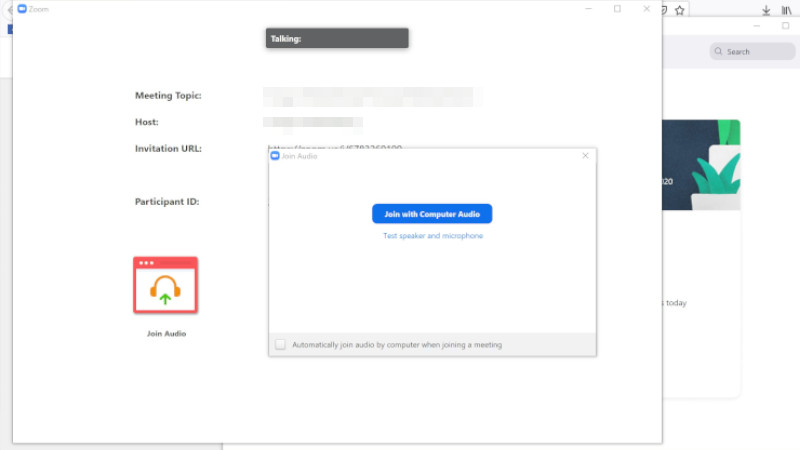
Step 10
Your test meeting opens now. You will first be asked to click „join with Computer Audio“.
Once you click that, your meeting starts and you can invite other users.
Read more about that in our guide on how to use Zoom.